Choosing the Right Husqvarna Snowblower Attachment
Winter's arrived, and with it, the potential for significant snowfall. If you own a Husqvarna lawn tractor, a snowblower attachment can transform your winter maintenance routine. But with various models available, selecting the optimal attachment for your needs requires careful consideration. This guide will walk you through the process, helping you choose the perfect snowblower attachment and become a winter weather pro. For similar attachments from other brands, check out this resource page.
Assessing Your Needs: Key Factors to Consider
Before diving into specific Husqvarna snowblower models, let's identify your unique needs. Consider these crucial factors:
Property Size: Do you have a small yard or a large driveway? A 42-inch snowblower might suffice for smaller areas, while a 50-inch model is better suited for larger properties, clearing more snow faster.
Average Snowfall: Do you typically experience light, infrequent snowfall, or heavy, frequent snowstorms? Heavier snowfalls demand a more powerful snowblower capable of handling larger volumes of snow efficiently.
Tractor Horsepower: This is paramount! Consult your tractor's manual to confirm its compatibility with the weight and power requirements of the chosen snowblower attachment. Using an attachment exceeding your tractor's capabilities can lead to damage or injury.
Budget: The 50-inch model, generally more robust and powerful, commands a higher price. Assess the additional cost against the benefits for your specific needs. A larger investment might be worthwhile if you anticipate frequent heavy use.
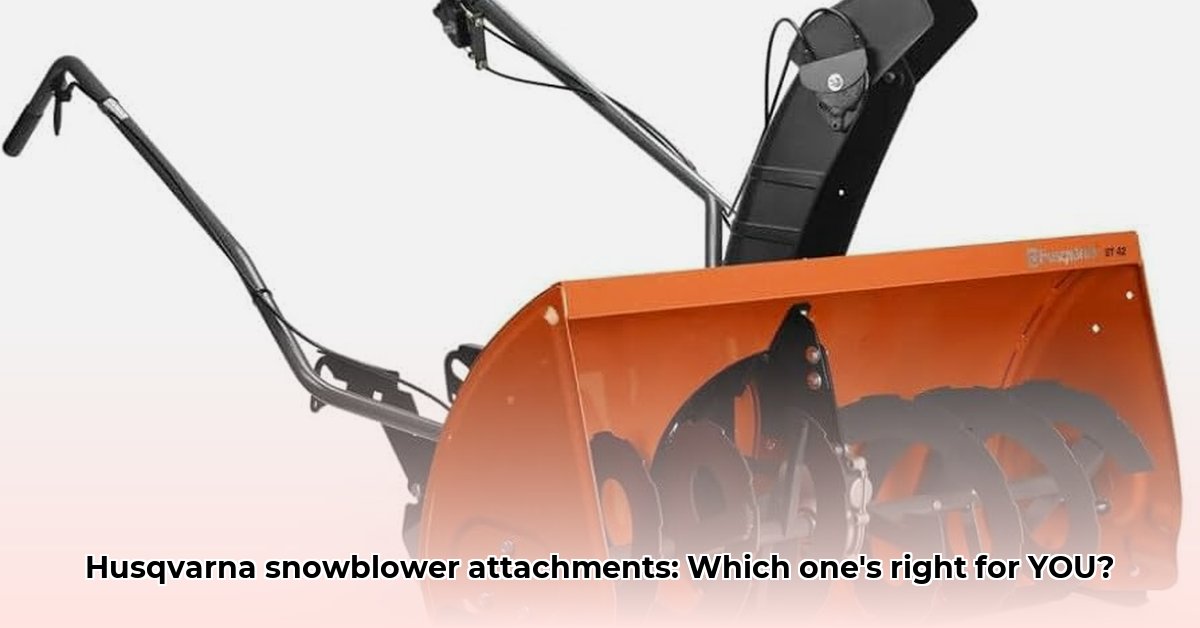
Husqvarna 42" vs. 50" Snowblower: A Comparative Analysis
To aid your decision, here's a comparison of the popular 42-inch and 50-inch Husqvarna snowblower attachments:
| Feature | 42" Model | 50" Model | Considerations |
|---|---|---|---|
| Clearing Width | 42 inches | 50 inches | The extra 8 inches of clearing width on the 50" model can significantly reduce clearing time for larger areas. |
| Intake Size | 42 inches | 50" x 19.5" | A larger intake allows the 50" model to process more snow simultaneously, increasing efficiency. |
| Gearbox | Details unavailable. | Heavy-duty Hydrogear | The Hydrogear gearbox in the 50" model suggests superior durability and performance. |
| Auger Design | Single Ribbon | Double Ribbon Auger | The double ribbon auger design of the 50" model generally offers more efficient snow movement. |
| Discharge Chute | Material unspecified | Polymer (rust and clog resistant) | The polymer chute of the 50" model is less prone to rust and clogging, minimizing maintenance. |
| Electric Lift | Yes | Yes | Both models offer convenient electric lift systems for raising and lowering the snowblower. |
| Tool-Free Removal | Yes (after initial bracket installation) | Yes (after initial bracket installation) | This feature simplifies attachment and detachment, regardless of model size. |
| Recommended for | Smaller yards, lighter snowfall | Larger yards, heavier snowfall | These are general guidelines; your specific needs may dictate a different choice. |
Note: While this table provides a comprehensive overview, detailed specifications like auger RPM and throw distance are not consistently available across all sources. We recommend verifying these details on the official Husqvarna website or by consulting a Husqvarna dealer.
Installing Your Husqvarna Snowblower Attachment: A Step-by-Step Guide
Follow these steps for a safe and efficient installation:
Safety First: Always ensure your tractor is on a level surface, the engine is off, and the parking brake is engaged before commencing any installation or operation.
Install the Brackets (One-Time Process): Carefully follow the instructions included with your snowblower attachment. This is a one-time setup.
Connect the Snowblower: Align the snowblower with the tractor's coupling points; the process is typically tool-free once the brackets are in place.
Engage the Electric Lift: Use the electric lift system (if equipped) to raise and lower the snowblower.
Final Check: Before operation, thoroughly inspect all connections to ensure secure attachment.
Operating Your Snowblower: Tips for Safe and Effective Snow Removal
Mastering your snowblower ensures efficient and safe snow removal:
Chute Adjustment: Adjust the chute direction to precisely control snow discharge. Many models offer variable chute control, often adjustable from the driver's seat.
Adapting to Conditions: Vary your speed based on snow depth and density. Heavier, wetter snow requires slower speeds. Consider adding wheel weights to your tractor for enhanced traction, especially with the 42-inch model.
Clog Management: If the snowblower clogs, immediately shut off the engine and carefully clear any blockages. Always refer to your owner's manual for specific guidance on clearing clogs.
Maintaining Your Snowblower: Ensuring Long-Term Performance
Regular maintenance prolongs your snowblower's lifespan and optimal performance:
Cleaning: After each use, remove any snow and ice buildup to prevent corrosion and damage.
Lubrication: Consult your owner's manual for the recommended lubrication schedule and points. Regular lubrication prevents wear and tear.
Storage: Store the snowblower in a dry, protected area during warmer months to prevent rust and extend its life.
Remember: This guide offers general advice. Always refer to your owner's manual for complete instructions and safety precautions. Contact your local Husqvarna dealer for any further assistance or questions. Consult the official Husqvarna website for detailed specifications.